- Published on
Consuming a RESTful API faster with AngularJS and Yeoman
- Authors
- Name
- Iván González
- @dreamingechoes


Due to the fact that I'm going to start a development with AngularJS, I think that could be great to share a fast way to introduce you to the AngularJS world.
First step: install all the dependencies
Let's just get into it. First thing you we'll need is have node.js installed on your system. If you don't have it, go to https://nodejs.org and install it. After that, we have to install Yeoman, and in order to do that, execute the following instruction on your terminal (maybe you'll need to execute it as a root user):
user@computer:~$ npm install -g yo
The -g flag tells node.js to install Yeoman globally on your system. It's very important to use this flag because if we don't specify, it's going to be installed locally in the folder you are and you won't be able to run it as a command. Then, let's install generator-angular, which is a Yeoman generator that scaffolds out a frontend web app:
user@computer:~$ npm install -g generator-angular
Due to we're going to use sass, we have to install compass too. Follow the steps of the official web here. Finally, let's install grunt and bower:
user@computer:~$ npm install -g grunt
user@computer:~$ npm install -g bower
Making our AngularJS app with Yeoman
With that done, we're able to create a folder for our application and execute inside it the yo command to generate our scaffold application:
user@computer:~$ mkdir angularjs_giphy_app
user@computer:~$ cd angularjs_giphy_app
user@computer:/angularjs_giphy_app$ yo angular
yo is going to ask you some questions in order to create our application. We only have to respond the rest of the questions. Here are my elections:
? Would you like to use Gulp (experimental) instead of Grunt? No
? Would you like to use Sass (with Compass)? Yes
? Would you like to include Bootstrap? Yes
? Would you like to use the Sass version of Bootstrap? Yes
? Which modules would you like to include? angular-animate.js, angular-cookies.js, angular-resource.js...
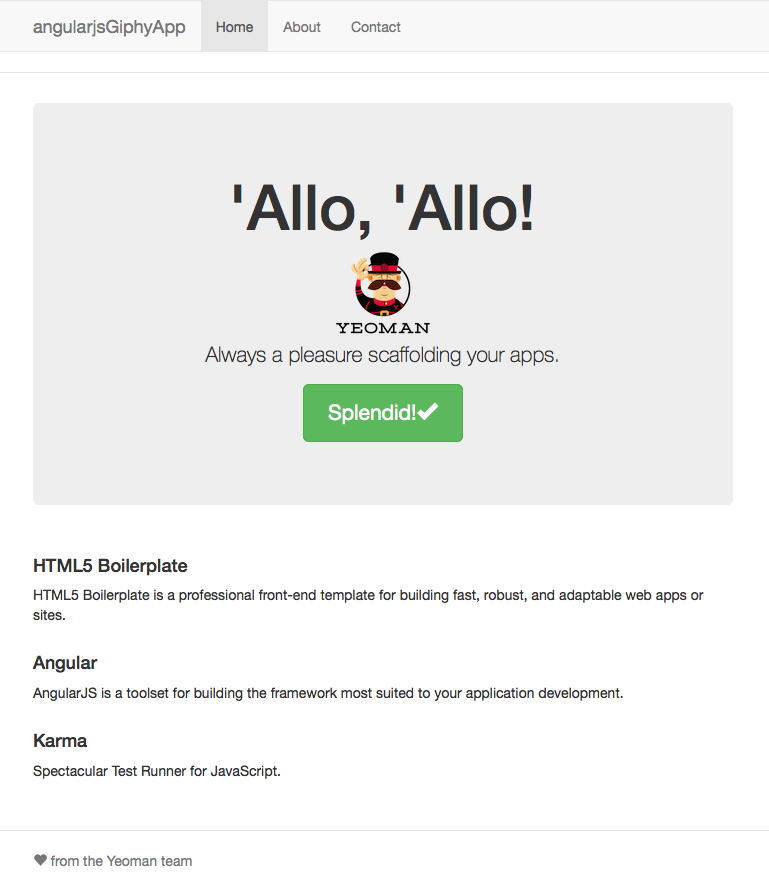
After the process has finished, just execute grunt serve, that's going to start up a web server on your own computer using node.js and it's going to open a web browser with your application. You'll see something like this:

Now we have to create our first resource. The idea of this example is to consume a RESTful API, no matter which one. We could consume our own API (if you want to know how to develop a RESTful API with Ruby on Rails, check one of my previous posts), but in order to be fast with this example, we're going to use the Giphy API to search gifs. Is extremely simple to use, you could see the Github repository here.
So let's make our "gif resource". To do that, we're going to use again the yo command:
user@computer:~$ yo angular:route gif
This command is going to generate all the necessary AngularJS structure to have our "gif resource" available in our app. On the bunch of files generated, we see app/scripts/controllers/gif.js and app/views/gif.html, which are the ones we will focus on throughout the post because they are the most important.
You could check the official AngularJS documentation about controllers here to understand the concept, but on summary, a controller on AngularJS is where we're going to implement the logic of our resource. The most important element is the $scope object. In our controller, a new child scope will be created and made available as an injectable parameter to the Controller's constructor function as $scope.
Developing the logic of our controller
Let's open the file app/scripts/controllers/gif.js generated by yo and modify his content until have something like this:
'use strict'

/**
 * @ngdoc function
 * @name angularjsGiphyAppApp.controller:GifCtrl
 * @description
 * # GifCtrl
 * Controller of the angularjsGiphyAppApp
 */
angular
  .module('angularjsGiphyAppApp')
  .controller('GifCtrl', ['$scope', '$http', '$q', function ($scope, $http, $q) {}])
This is the most simple controller we can define. We have an AngularJS Module (angularjsGiphyAppApp), then we add the controller's constructor function to the module using the .controller() method. And finally we have used an inline injection annotation to explicitly specify the dependency of the Controller on the $scope, $http and $q services provided by AngularJS.
To configure the routes of our application, let's open the app/scripts/app.js and put the following code:
'use strict'

/**
 * @ngdoc overview
 * @name angularjsGiphyAppApp
 * @description
 * # angularjsGiphyAppApp
 *
 * Main module of the application.
 */
angular
  .module('angularjsGiphyAppApp', [
    'ngAnimate',
    'ngCookies',
    'ngResource',
    'ngRoute',
    'ngSanitize',
    'ngTouch',
  ])
  .config(function ($routeProvider) {
    $routeProvider
      .when('/', {
        templateUrl: 'views/main.html',
        controller: 'MainCtrl',
        controllerAs: 'main',
      })
      .when('/gifs', {
        templateUrl: 'views/gif.html',
        controller: 'GifCtrl',
        controllerAs: 'gif',
      })
      .otherwise({
        redirectTo: '/',
      })
  })
This is the main module of our application, and where we configure the routes and we specify which route correspond to which controller. In our case is very simple, we only have two routes: the default pointing to the index, and the one associated with our gif resource, but for more complex application this routes file could be more complicated.
Ok, we have our very simple gif controller and all the routes, let's combine this with some HTML and CSS to continue with the example.
Doing some HTML and CSS to keep all cool
We're going to touch two main files to change the HTML code, app/views/main.html (the view associated with the index), and app/view/gif.html (the one associated with our gif controller). The HTML for our index view we'll very clean and minimal:
<div class="container-main">
  <div class="jumbotron">
    <h2>AngularJS Giphy App</h2>
    <p class="lead">
      <img src="images/yeoman.png" alt="I'm Yeoman" /><br />
      AngularJS webapp example for consume Giphy's API. Made with AngularJS, Grunt and Yeoman.
    </p>
  </div>
</div>
With some CSS (added into app/styles/main.scss), we should have something like this in our index:

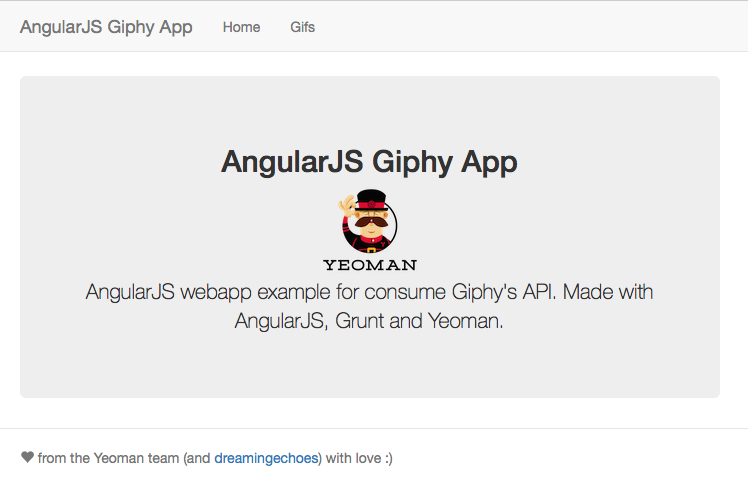
Well, let's keep the index that simple and we're going to the gif view to start with the implementation of the form that we'll use to search through the Giphy API. Open the app/views/gif.html file and code this into the file:
<h1>Gifs</h1>

<div ng-if="gifs" class="row marketing gifs"></div>

<div ng-if="!gifs" class="row marketing empty">
  <div class="alert alert-danger" role="alert">No results found! :(</div>
</div>
As you could see, it's a very simple HTML code, but with something special, the ng-if directive. AngularJS provides us with a lot of special directives which we could attach HTML elements to the execution of our controller. In this case we're using the ng-if. You have the complete documentation of ng-if here, and it's a directive that evaluates a condition and render the HTML element associated with it depending on the result. ng-if="gifs" checks if the object gifs associated with the $scope of our controller exists. If so, displays the upper div (the one empty), and if not displays the other one.
Then we add the form with which we will specify the values that our controller will use to do the request to the Giphy Api. Something like this:
<div class="row marketing">
  <div class="form-group col-md-12" style="display:inline;">
    <div class="input-group">
      <input
        class="form-control"
        placeholder="What are searching for?"
        type="text"
        ng-model="search"
        ng-change="change()"
      />
      <span class="input-group-addon">
        <span class="glyphicon glyphicon-search"></span>
      </span>
    </div>
  </div>

  <div class="form-group col-md-12" style="display:inline;">
    <div class="input-group col-md-12">
      <select class="form-control" name="limit" ng-model="limit" ng-change="change()">
        <option value="" ng-if="!limit">Select number of results</option>
        <option value="6">6</option>
        <option value="12">12</option>
        <option value="18">18</option>
      </select>
    </div>
  </div>

  <div class="form-group col-md-12" style="display:inline;">
    <div class="input-group col-md-12">
      <select class="form-control" name="method" ng-model="method" ng-change="change()">
        <option value="" ng-if="!method">Select API method</option>
        <option value="search">Search</option>
        <option value="trending">Trending</option>
      </select>
    </div>
  </div>
</div>
And finally we should have this view:

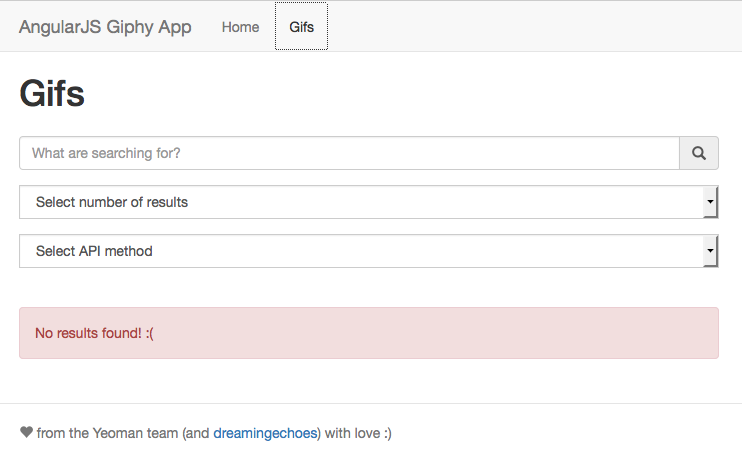
Let's see on detail one of the form elements to understand how it works (the other two behave the same way, so I'll not explain the details to keep the post not too long). For example, the text input:
<input
  class="form-control"
  placeholder="What are searching for?"
  type="text"
  ng-model="search"
  ng-change="change()"
/>
Again we have two new AngularJS directive: ng-model and ng-change. ng-model links the value contained in the input element to a value inside the $scope of our controller. In this case (ng-model="search"), we're linking the content of the text input to the value search of our $scope. So we have this value available and ready to use on the controller in $scope.search.
Meanwhile, the ng-change directive specifies to AngularJS that links the change event of the text input to a specific action or method of our controller. So ng-change="change()" will link the change event of our text input to the controller method $scope.change. Simple, right?
Anyway, You have the complete documentation of ng-model here and ng-change here.
The next step is implement the required methods in our controller in order to complete the process.
We need some action!
If reading the title of this part has come to your mind certain song, you're a cool person. If not, before continuing with the post head over to view this video and then return to continue :)
In fact, our controller will be very simple, just have two methods to implement the operations of our application. The $scope.change method defined previously will looks like this:
$scope.change = function () {
  if ($scope.search !== undefined && $scope.limit !== undefined && $scope.method !== undefined) {
    $scope.fetch()
  }
}
As you could see, we only check that the values associated with the form inputs are defined (ie, we have given a value). If so, we call the second method of our controller, $scope.fetch:
$scope.fetch = function () {
  var deferred = $q.defer()
  $http
    .get(
      '//api.giphy.com/v1/gifs/' +
        $scope.method +
        '?api_key=dc6zaTOxFJmzC&' +
        'q=' +
        $scope.search +
        '&limit=' +
        $scope.limit
    )
    .then(
      function successCallback(response) {
        deferred.resolve(($scope.gifs = angular.fromJson(response.data.data)))
      },
      function errorCallback(error) {
        deferred.resolve(($scope.gifs = angular.fromJson({})))
      }
    )
  return deferred.promise
}
That's where the magic happens. Firstly, we define a defer object via the $q object. $q is a service that helps you to run functions asynchronously, and use their return values (or exceptions) when they are done processing (detailed documentation here).
So we define a new instance of deferred with var deferred = $q.defer();. At the end of the method, we're going to return the promise of this deferred, return deferred.promise;. In between, we generate the request to the Giphy API to assign the results to the object gifs, which will be the one we'll render in the final view.
To execute the API request, we use the $http method. Is simple, similar to the $.get() jQuery method, so I'm not going to explain deeply (better see the documentation here). The key of this method resides on the successCallback, which is where we're going to resolve the deferred object and assign to $scope.gifs the response from the Giphy API.
Once we have the information in our gifs object, we're ready to render on the gif view. Let's finish all the development adding this piece of HTML to the app/views/gifs.hmtl file:
<div ng-if="gifs" class="row marketing gifs">
  <div ng-repeat="gif in gifs" class="col-sm-6 col-md-4">
    <div class="thumbnail">
      <img src="{{ gif.images.downsized.url }}" alt="" />
      <div class="caption">
        <p><strong>ID: </strong>{{ gif.id }}</p>
        <p><strong>Source: </strong>{{ gif.source_tld }}</p>
        <a href="{{ gif.bitly_url }}" target="_blank">Open original Giphy detail</a>
      </div>
    </div>
  </div>
</div>
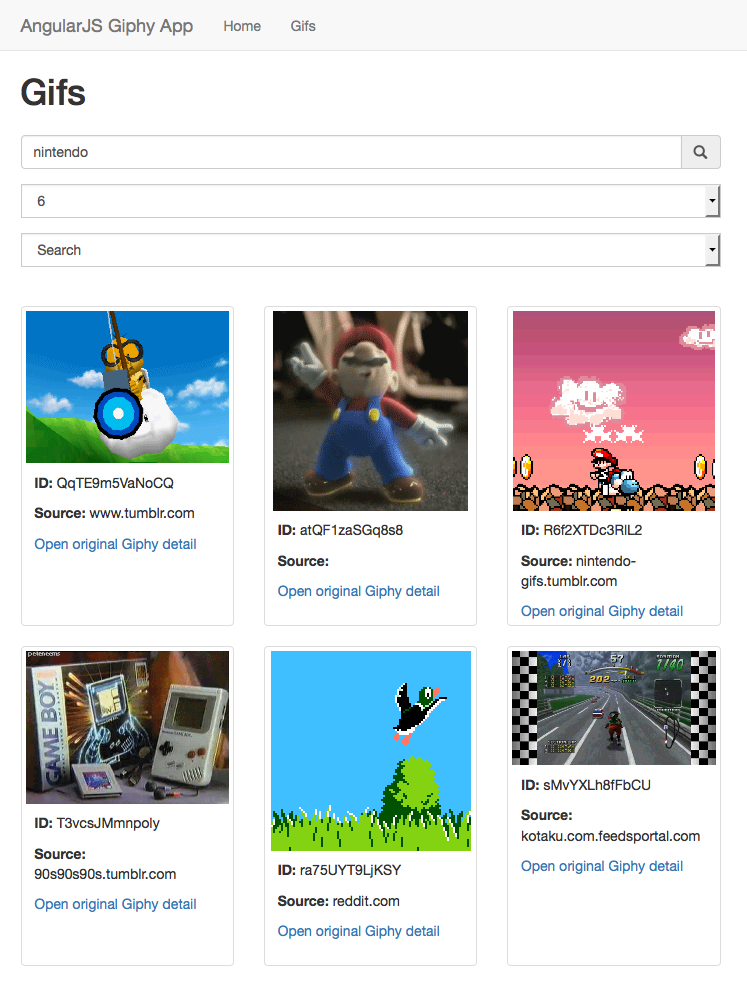
Here we have one more AngularJS directive, ng-repeat (detailed documentation here). This instantiates a template once per item from a collection (in this case, one div per gif object contained in our gifs object). Just print the values you want and... Voilá! Save all the code of the application, refresh the grunt server by execute grunt serve again (if you don't have it on background), and try to search something with the form. Suddenly begin to magically appear below the form all the results with cool gifs from Giphy, like this:

That's it! From here we can play a little bit with the result and enjoy our first web application AngularJS. I hope this post helps you to begin to play with AngularJS. Any comment or suggestion you consider appropriate to enhance understanding of the post will be welcomed. And to celebrate that everything ends OK, I leave you with a cool gif (why not?)... Cheers!


Any place where I can see the result?
Yeah! Here you have the Github repo for this example, so you can clone it, change it, play with it... whatever you want! :smile: